
适用范围 本文只讲 Codex App 接入 LLMoxy 的 GPT 系列模型,示例模型统一使用
gpt-5.5。如需终端版,请参考「CodeX CLI 配置指南」。
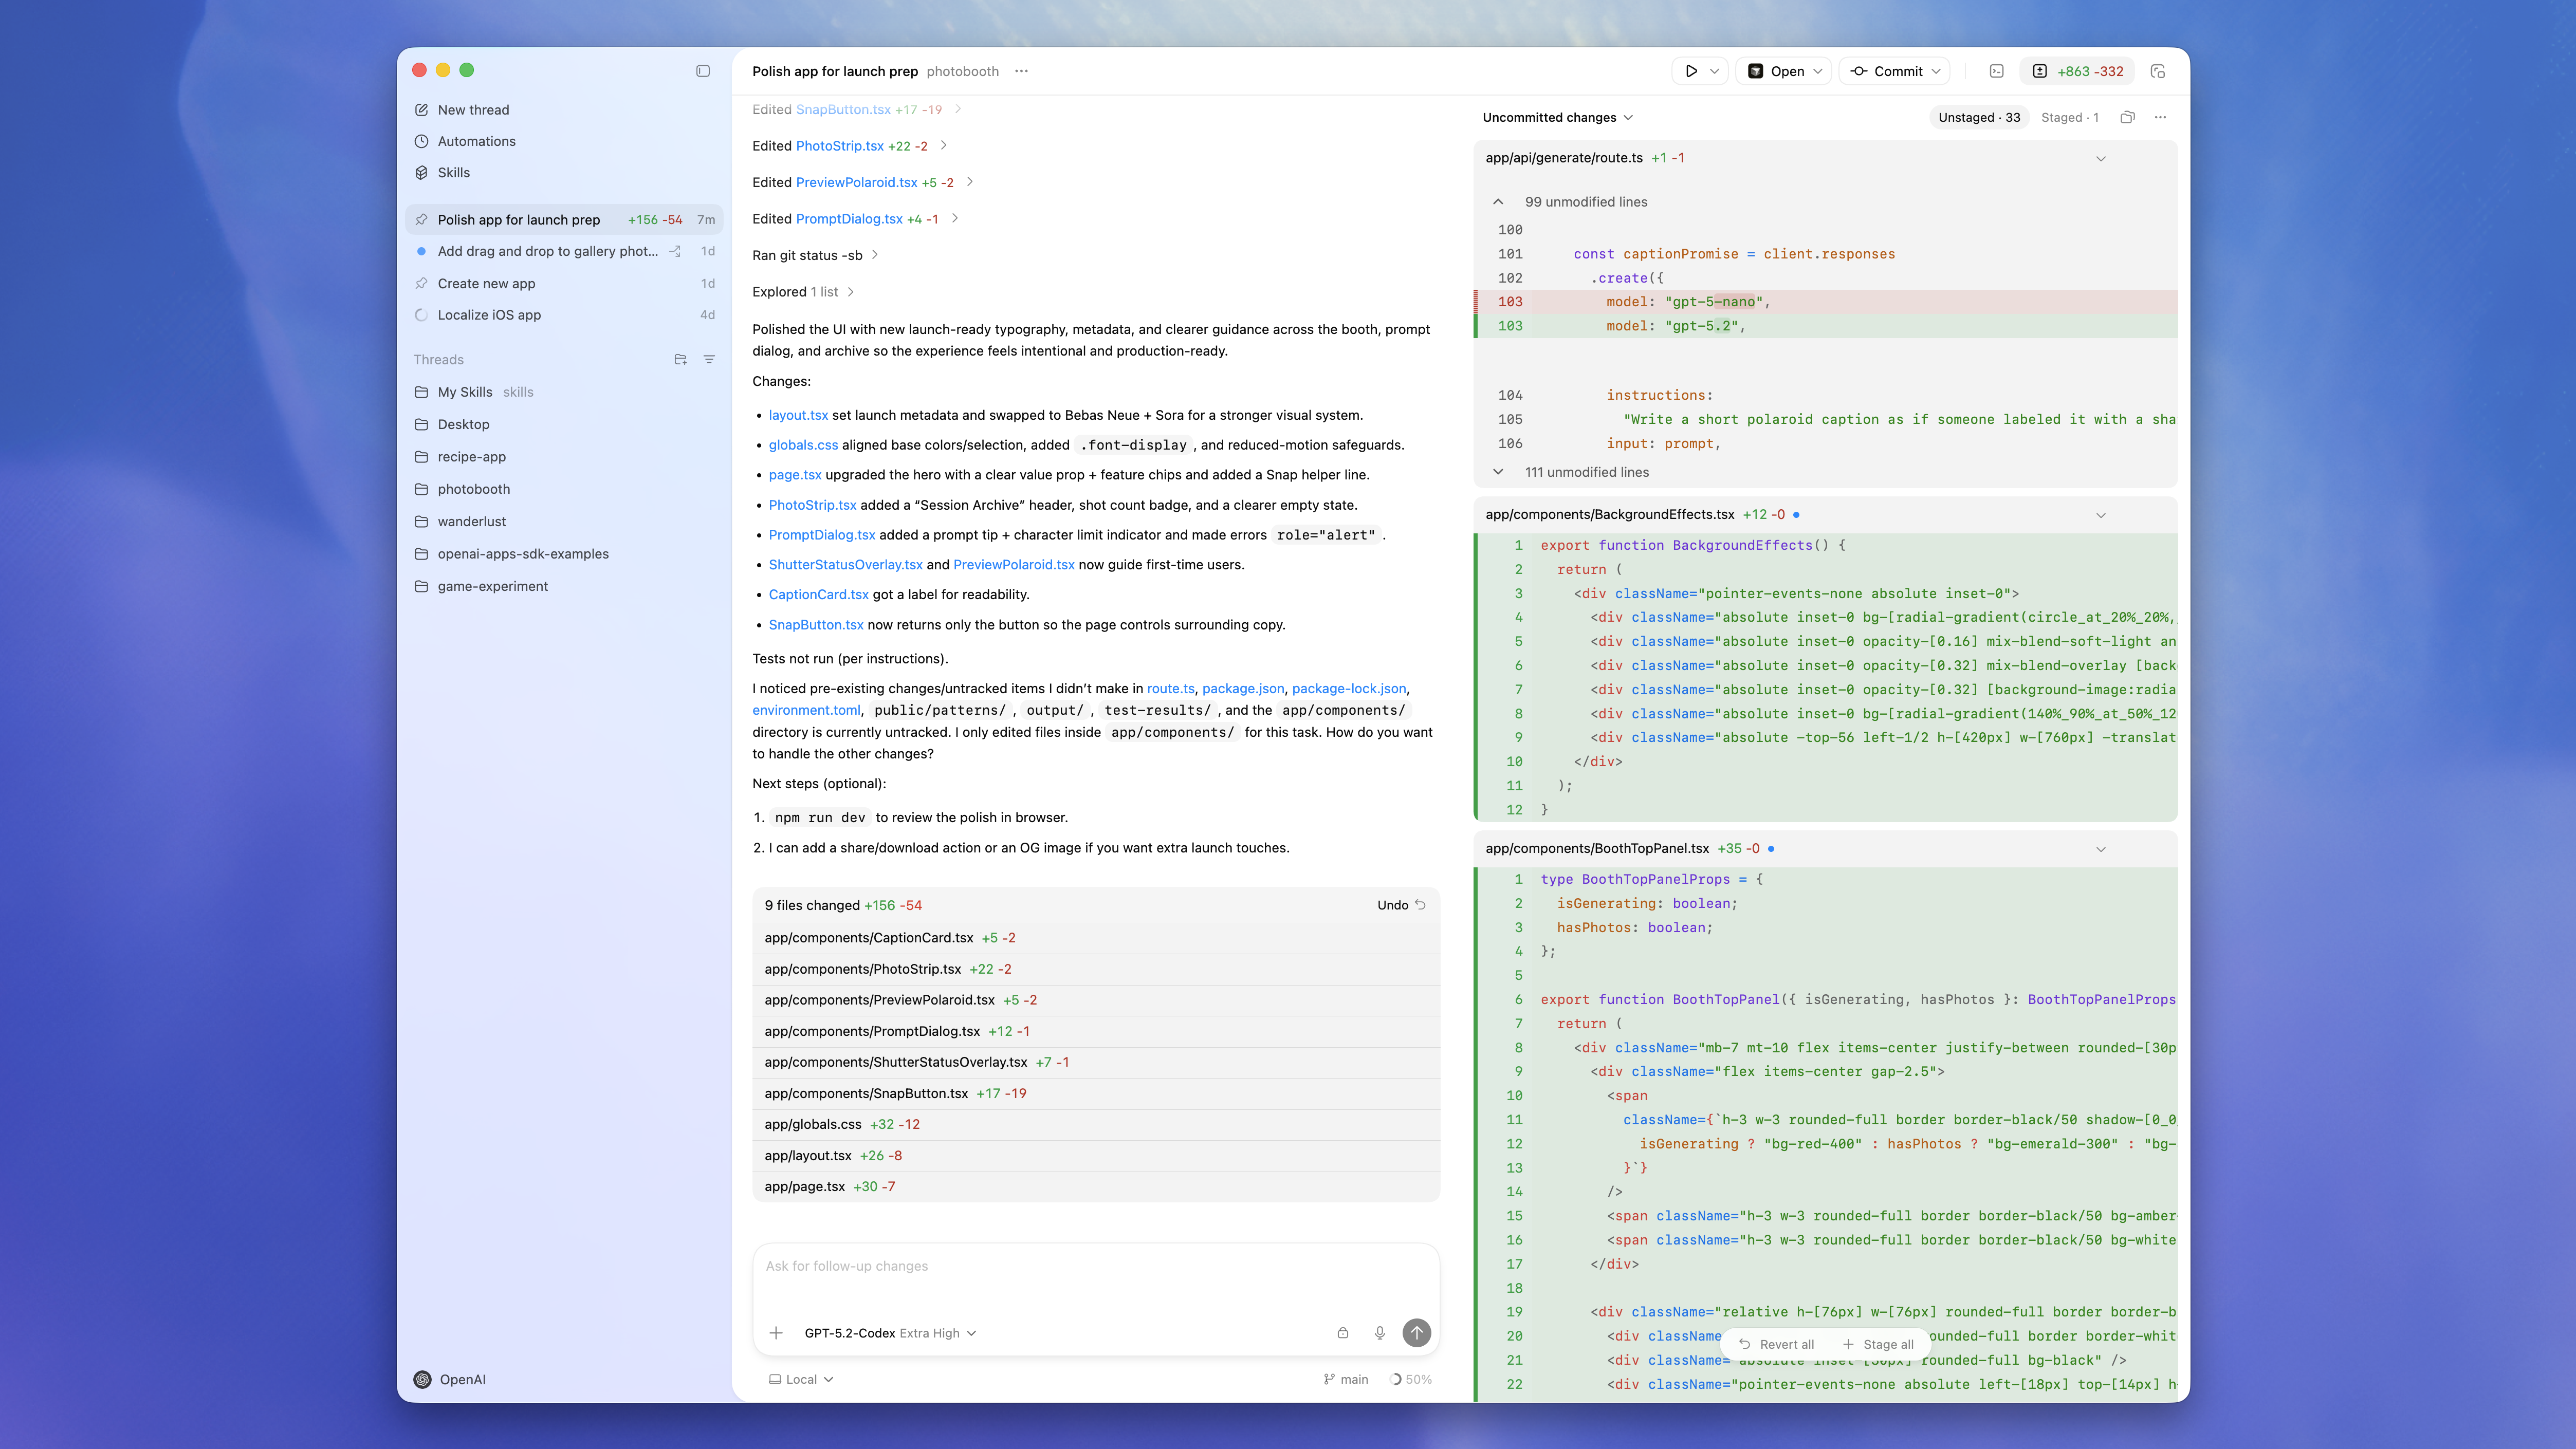
准备工作
开始前先准备三件事:
- 一个可用的 LLMoxy 账号
- 一个 auto 分组的 LLMoxy API Key
- 本文统一使用的模型名:
gpt-5.5
Codex App 与 Codex CLI、IDE 插件共享 Codex 配置层。用户级配置通常放在 ~/.codex/config.toml;Windows 原生模式下对应 %USERPROFILE%\.codex\config.toml。
通用 LLMoxy 配置
后面的 macOS、Windows Native、Windows + WSL 都会用到同一段配置。把它写入对应环境里的 config.toml:
model_provider = "llmoxy"
model = "gpt-5.5"
model_reasoning_effort = "high"
model_verbosity = "medium"
approval_policy = "on-request"
sandbox_mode = "workspace-write"

[model_providers.llmoxy]
name = "LLMoxy"
base_url = "https://llmoxy.com/v1"
wire_api = "responses"
requires_openai_auth = false
env_key = "LLMOXY_API_KEY"
配置含义:
model_provider = "llmoxy":默认使用下方定义的 LLMoxy Providermodel = "gpt-5.5":默认调用 LLMoxy 上的 GPT-5.5base_url = "https://llmoxy.com/v1":Codex 的 OpenAI 兼容端点需要带/v1wire_api = "responses":使用 Codex 更适配的 Responses APIenv_key = "LLMOXY_API_KEY":API Key 从环境变量读取,不写进配置文件approval_policy与sandbox_mode:保留确认和工作区沙箱,适合普通用户起步
macOS 安装与配置
1. 安装 Codex App
打开官方 macOS 下载地址:
下载后双击 .dmg,按系统提示把 Codex 拖入 Applications。
2. 写入配置文件
打开终端,创建 Codex 配置目录:
mkdir -p ~/.codex
open -a TextEdit ~/.codex/config.toml
把上面的「通用 LLMoxy 配置」粘贴进去并保存。
3. 设置 API Key
macOS 默认 Shell 通常是 Zsh,写入 ~/.zshrc:
{
echo ''
echo '# LLMoxy'
echo 'export LLMOXY_API_KEY="你的LLMoxy API Key"'
} >> ~/.zshrc
source ~/.zshrc
验证:
echo "$LLMOXY_API_KEY"
你必须把 你的LLMoxy API Key 替换为控制台里复制的真实令牌。
4. 打开项目验证
启动 Codex App,选择一个代码目录,然后发送一个轻量任务:
解释当前项目结构,并指出入口文件在哪里。
如果 Codex 能正常读取项目并回复,说明 macOS 侧已经接入 LLMoxy。
Windows Native 安装与配置
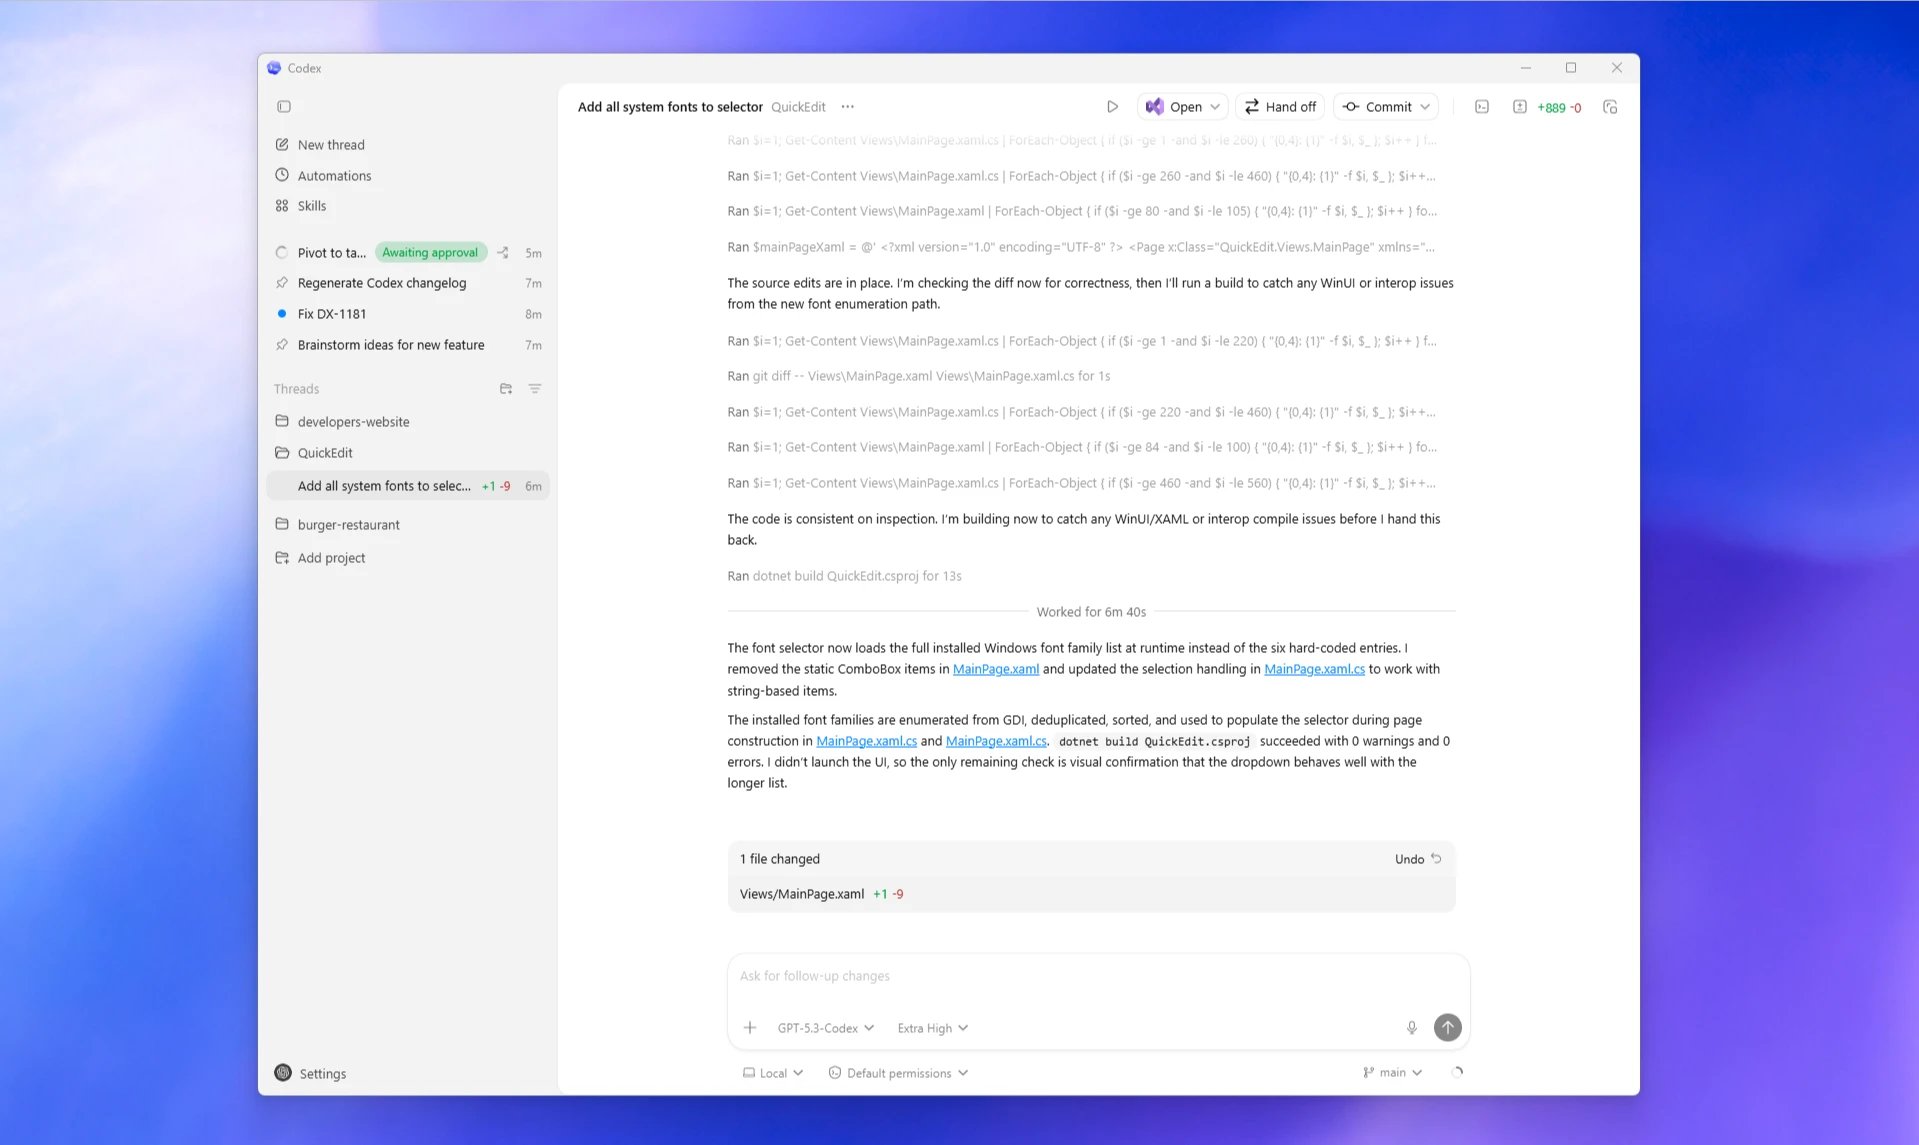
Windows 默认使用 Windows Native Agent,命令在 PowerShell 环境执行,配置文件在 Windows 用户目录下。
1. 安装 Codex App
任选一种方式:
- Microsoft Store 页面:Codex App
- PowerShell 安装:
winget install Codex -s msstore
2. 写入配置文件
用 PowerShell 创建并打开配置文件:
New-Item -ItemType Directory -Force "$HOME\.codex"
notepad "$HOME\.codex\config.toml"
把「通用 LLMoxy 配置」粘贴进去并保存。
实际路径通常类似:
C:\Users\你的用户名\.codex\config.toml
3. 设置 API Key
推荐写入 Windows 用户级环境变量:
[Environment]::SetEnvironmentVariable("LLMOXY_API_KEY","你的LLMoxy API Key","User")
关闭 Codex App 和 PowerShell,重新打开后验证:
echo $env:LLMOXY_API_KEY
4. 打开项目验证
启动 Codex App,添加项目目录后发送:
执行 git status,并解释当前工作区状态。
如果 PowerShell 执行策略阻止脚本运行,可在 PowerShell 中执行:
Set-ExecutionPolicy -Scope CurrentUser RemoteSigned
如果 Git 功能不可用,先安装原生 Git:
winget install Git.Git
Windows + WSL 配置
如果你的项目主要在 Linux 工具链里开发,可以把 Codex Agent 切到 WSL。
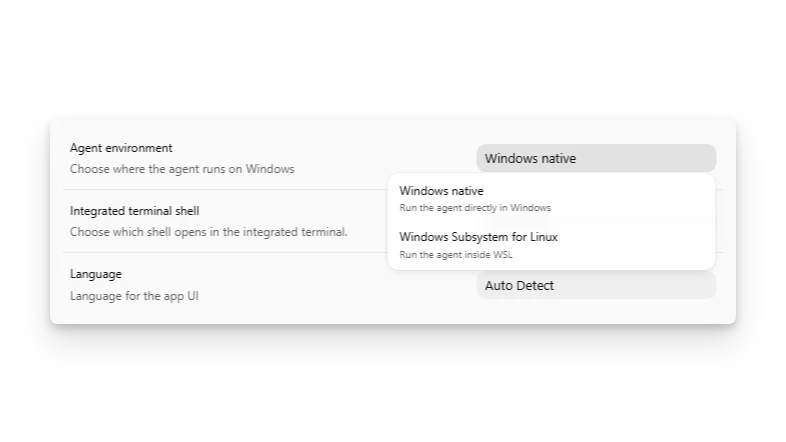
1. 切换 Agent
在 Codex App 中打开 Settings,把 Agent 从 Windows Native 切换到 WSL,然后重启 App。这个设置重启后才会生效。
2. 写入 WSL 内配置
切到 WSL 终端后创建配置:
mkdir -p ~/.codex
nano ~/.codex/config.toml
把「通用 LLMoxy 配置」写入 WSL 内的 ~/.codex/config.toml。
3. 设置 WSL 内 API Key
Bash 用户:
{
echo ''
echo '# LLMoxy'
echo 'export LLMOXY_API_KEY="你的LLMoxy API Key"'
} >> ~/.bashrc
source ~/.bashrc
Zsh 用户:
{
echo ''
echo '# LLMoxy'
echo 'export LLMOXY_API_KEY="你的LLMoxy API Key"'
} >> ~/.zshrc
source ~/.zshrc
验证:
echo "$LLMOXY_API_KEY"
Windows Native 和 WSL 是两个环境。Agent 跑在 WSL 时,要改 WSL 里的 ~/.codex/config.toml,也要在 WSL 里设置 LLMOXY_API_KEY。
常用 App 设置
默认打开编辑器
可以在设置里选择默认 Open In 编辑器,例如 VS Code 或 Visual Studio。
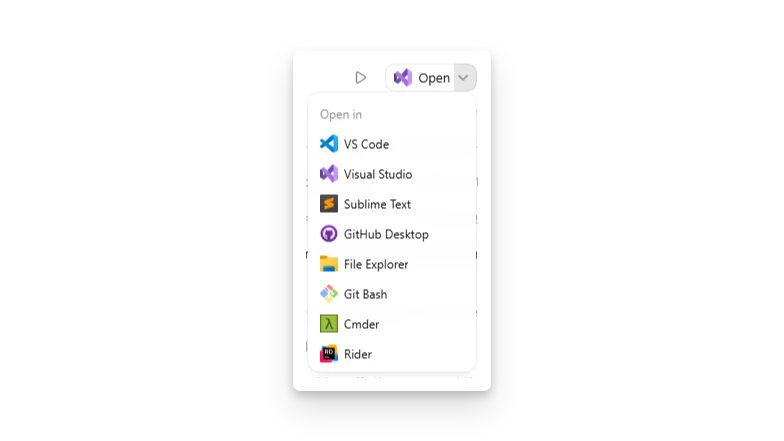
集成终端
Windows 下集成终端可以选择 PowerShell、Command Prompt、Git Bash 或 WSL。这个设置和 Agent 运行环境是两件事:你可以让 Agent 跑 WSL,同时集成终端仍使用 PowerShell。
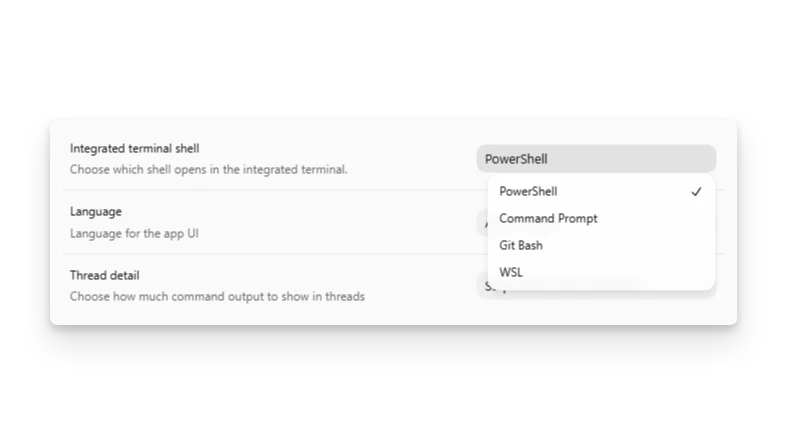
修改终端后通常只对新会话生效,必要时重启 Codex App。
常见问题
启动后仍要求登录 OpenAI
确认当前环境的 config.toml 已写入:
model_provider = "llmoxy"
并确认 LLMOXY_API_KEY 能在同一个环境里读取到。使用 LLMoxy Provider 时,Codex 会用环境变量里的 API Key 调用 LLMoxy,不需要把密钥写入配置文件。
404 或模型不存在
检查三项:
base_url必须是https://llmoxy.com/v1model必须是gpt-5.5- API Key 建议使用 auto 分组令牌
Windows 和 WSL 配置不一致
看 Agent 跑在哪个环境:
- Windows Native:改
%USERPROFILE%\.codex\config.toml,设置 Windows 用户环境变量 - WSL:改 WSL 内
~/.codex/config.toml,设置 WSL Shell 环境变量
想重置为更保守的权限
保持以下配置即可:
approval_policy = "on-request"
sandbox_mode = "workspace-write"
这会让 Codex 在需要越过沙箱或执行敏感操作时先询问。