logo

Claude Code Configuration Guide

CC Switch Download

The APAC acceleration address comes from a third-party GitHub Proxy. After downloading, please confirm the project name and version match the official GitHub address above.

Installation Steps

1. Install Node.js

Visit the Node.js official website. We recommend downloading the LTS version on the left, which is the long-term support version and more stable.

2. Install Git

Visit the Git official website. The page will automatically recommend the version suitable for your operating system; click the button to download.

3. Install Claude Code

Open the cmd command line and install claude-code via npm:

npm install -g @anthropic-ai/claude-code

Configuration Steps

1. Open cc switch

Launch the cc switch application.

Open cc switch

2. Click the plus icon in the top right

Find and click the plus button in the top right corner of the interface to add a new provider configuration.

Click plus

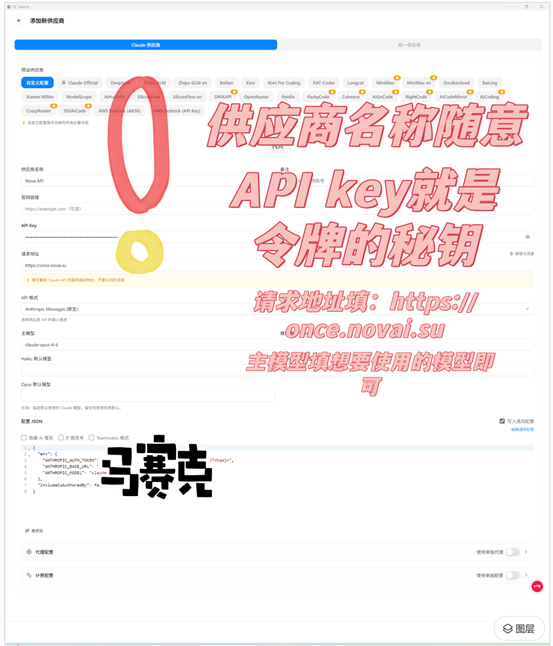
3. Fill in configuration info

  • Provider Name: Fill in as desired (e.g., LLMoxy)
  • API Key: Enter your site token secret key
  • Request Address: https://llmoxy.com
  • Main Model: claude-opus-4-6

Fill in configuration

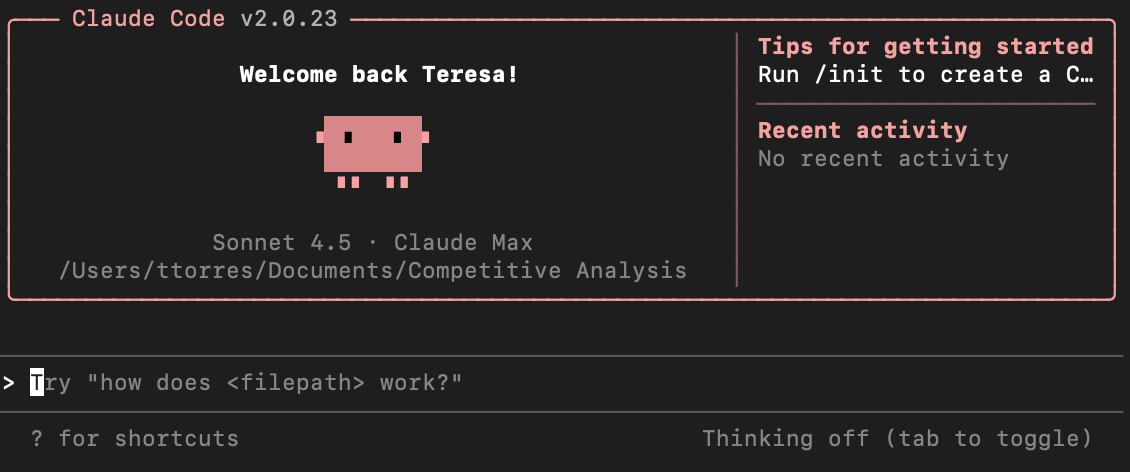
4. Launch Claude Code from command line

Launch Claude Code in the command line.

Launch from command line

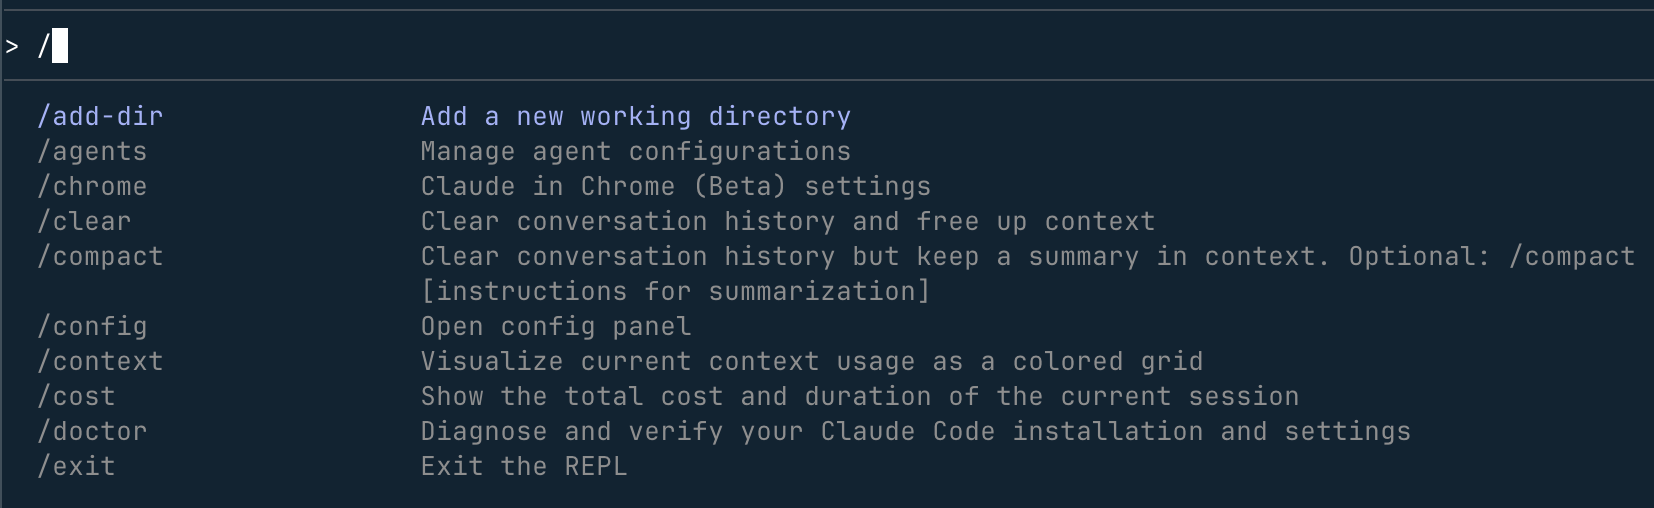
5. Switch model

After entering, type /model to switch to the model name you just set.

Switch model

6. Start using

Press Enter to confirm the selection and start using Claude Code normally.

Start using

Manual Configuration (Command Line)

The following is an alternative solution without using CC-Switch, suitable for users who prefer command line operations.

Environment variables tell Claude Code where to call AI services and which key to use. You need to configure:

  • ANTHROPIC_BASE_URL — LLMoxy gateway address
  • ANTHROPIC_AUTH_TOKEN — Your LLMoxy API Key

TIP Claude Code uses the Anthropic compatible interface, the address does not include /v1.

The following commands permanently save the configuration to user-level environment variables, which persist after reboot.

Set gateway address:

[Environment]::SetEnvironmentVariable("ANTHROPIC_BASE_URL","https://llmoxy.com","User")

Set API Key (please replace placeholder):

[Environment]::SetEnvironmentVariable("ANTHROPIC_AUTH_TOKEN","Your LLMoxy API Key","User")

Close PowerShell and open a new window, then verify:

echo $env:ANTHROPIC_BASE_URL

Should display: https://llmoxy.com

macOS uses Zsh by default; writing to the Zsh config file makes it permanent.

~/.zshrc is the macOS Shell config file, loaded automatically every time a terminal opens. The following commands will automatically create (if not exists) and append the config; just copy and paste into the terminal to run.

Write environment variable config (please replace API Key):

{
echo ''
echo '# LLMoxy'
echo 'export ANTHROPIC_BASE_URL="https://llmoxy.com"'
echo 'export ANTHROPIC_AUTH_TOKEN="Your LLMoxy API Key"'
} >> ~/.zshrc

Take effect immediately:

source ~/.zshrc

Verify:

echo "$ANTHROPIC_BASE_URL"

Should display: https://llmoxy.com

Write to the corresponding config file according to the Shell you use.

Not sure which Shell you are using? Run echo $SHELL, seeing /bin/bash means Bash, seeing /bin/zsh means Zsh.

~/.bashrc (Bash) and ~/.zshrc (Zsh) are Shell config files, loaded automatically every time a terminal opens. The following commands will automatically create (if not exists) and append the config; just copy and paste to run.

Bash users (default on most Linux):

{
echo ''
echo '# LLMoxy'
echo 'export ANTHROPIC_BASE_URL="https://llmoxy.com"'
echo 'export ANTHROPIC_AUTH_TOKEN="Your LLMoxy API Key"'
} >> ~/.bashrc

Zsh users:

{
echo ''
echo '# LLMoxy'
echo 'export ANTHROPIC_BASE_URL="https://llmoxy.com"'
echo 'export ANTHROPIC_AUTH_TOKEN="Your LLMoxy API Key"'
} >> ~/.zshrc

Apply configuration:

source ~/.bashrc # Bash users
# or
source ~/.zshrc # Zsh users

Verify:

echo "$ANTHROPIC_BASE_URL"

Should display: https://llmoxy.com

You must replace Your LLMoxy API Key with the real Key copied from the LLMoxy Console.

Launch and Verify

Enter your project directory and launch Claude Code:

claude

Optional: run an environment check first:

claude doctor

If you can chat normally, you have successfully connected to LLMoxy.

Common Issues

npm install -g permission error

Run PowerShell as administrator and retry.

Do not use sudo npm install -g to force installation. Reinstall Node.js via Homebrew (refer to Node.js installation tutorial); Node.js installed via Homebrew does not require sudo.

Do not use sudo npm install -g. We recommend using nvm to manage Node.js, or modify npm global directory permissions:

npm config set prefix ~/.npm-global

Then add ~/.npm-global/bin to PATH.

Environment variables not taking effect

SetEnvironmentVariable(...,"User") requires reopening the terminal to load. If still not displayed, try logging out of Windows or restarting.

Run source ~/.zshrc or close the terminal and open a new window, then verify: echo "$ANTHROPIC_BASE_URL"

Confirm you ran source ~/.bashrc (or ~/.zshrc), or closed and reopened the terminal, then verify: echo "$ANTHROPIC_BASE_URL"

"claude command not found"

  1. Confirm Node.js is installed correctly: node -v
  2. Restart terminal
  3. If still not working, reinstall Claude Code

Remote server connection timeout (Linux)

  • Check if the server can access the internet: curl -I https://llmoxy.com
  • If proxy is needed, configure the HTTPS_PROXY environment variable